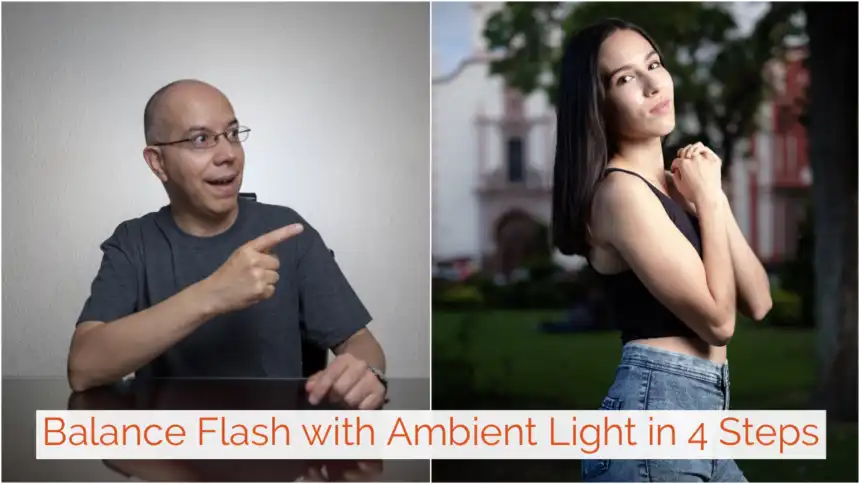
4 Steps for Natural Looking Images using Flash
Let’s balance flash with ambient light, so we make a natural looking image using flash! Keep reading to learn how.
If you have tried to use flash, you may have found some images to have a very obvious “flash look”. On the other hand, you may have also found yourself shooting images in which the subject looks nice, but some portions of the image (the sky, for example) look over-exposed.
How can we create natural looking images, with a nice balanced tone? With flash, of course! I have a recipe that involves four steps to get a nice look. Let’s get to it!
Take a Test Shot
This process starts with a test shot, with a neutral exposure and using evaluative metering, so the camera tries to read the whole scene. I shot the sample image below about an hour before sunset.

Find the Highlights
The second step in the process is to analyze the image and find the over-exposed spots. Those are the highlights and will serve as a guide for the next step
Under-expose
Third step in the process is to under-expose the image and take another shot, so that the highlights look natural. If you choose to under-expose by changing the shutter speed, make sure you don’t go over your camera’s sync-speed. In the example below, the sky looks a bit more blue by using a faster shutter speed.

Add Flash
The final step is to add light from a flash with the regular calculations explained in a previous video. The trick here is not to change the aperture, but only use distance and power settings to get the right exposure.
And there you have it! The image below now has a flash inside an octabox, set at ⅛ power.

Bonus Tip
If you want your image to look even more natural, make sure your flash is pointing in the same direction as the natural light, so the shadows over the subject go in the same direction as they do in the background.
If you liked this short tutorial, why don’t you share it with your friends?

