Brenizer Method with Flash
Some time ago I heard about the Brenizer method to produce a wide image with a shallow depth of field. I wondered about using this technique using flash, and I’d like to share the results with you.
The Brenizer method, also called “bokeh panorama” is a method to produce an image with a lot of context, like when you use a wide angle lens, with a shallow depth of field, like the ones produced with a telephoto lens. In order to create this kind of image, you need to take many overlapped images using a telephoto lens with a wide aperture, and then stitch them together to create the wide angle. All parameters, including focus need to be set manually and not change while taking the images. This way, adding a flash is also a matter of using it in manual mode.
How To Use the Brenizer Method
In general terms, the Brenizer method is about creating a panorama image. That is, you take many overlapped images of a wide scene using a telephoto lens, and then combine them to create a larger image with a wider angle of view. The end result will have a shallower depth of field than the one you would get with a wide angle lens.

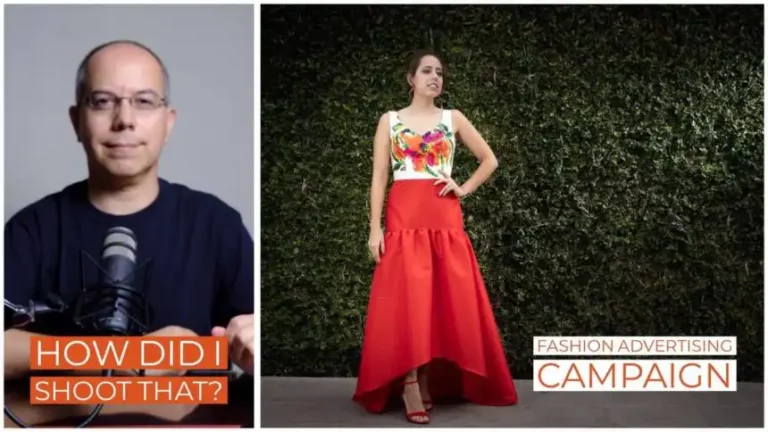
In the example below, I shot 12 images of Frida and the space around her. I used my Fujifilm X-T2 with the XF56mmF1.2 R lens, wide open. Notice that all these images overlap each other slightly. This allows the software to identify where to stitch them together.

In order for this method to work, you need to shoot in Manual mode, so all parameters stay the same, and you also need to use Manual focus or Back button focus, so the focus doesn’t change from one image to the other. I used ISO 250, f/1.2 and 1/2700 s in all these images.
I transferred these images to my iPad, opened Affinity Photo and started a New Panorama. I then selected the images and let Affinity Photo work its magic.


When Affinity Photo finishes stitching the images you can already see the shallow depth of field, however, even though Affinity Photo works on the tonality and alignment of the images, you can see that the stitched image has a bit of barrel distortion. That’s why I imported it to Lightroom CC.


I corrected the distortion in Lightroom CC, then cropped the images because the edges were not regular and made some adjustments as I would do with a normal image.
When Should You Use the Brenizer Method?
I found the Brenizer method particularly useful when I want to create a portrait which shows my subject, a wide view of the context, and a clear separation between them.
How Can You Mix It With Flash?
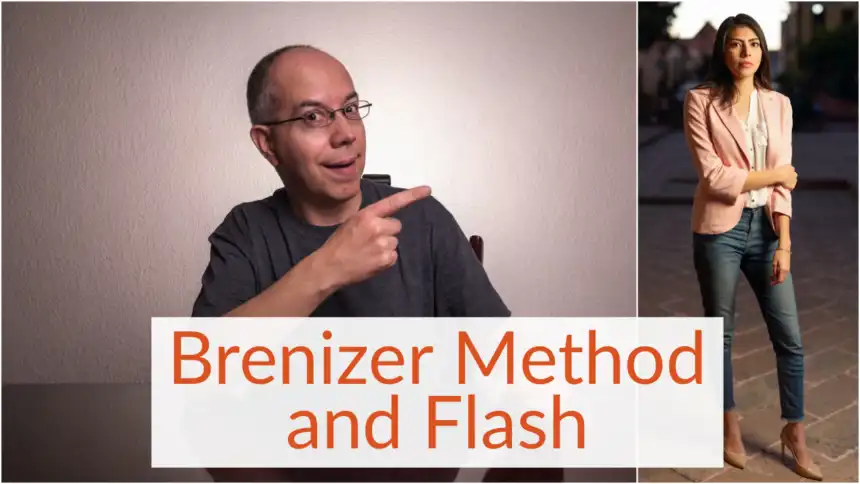
While I was shooting with Frida, I thought about mixing this technique with off-camera flash, so we shot some other images while waiting for the sunset. I then brought out my flash and octadome, and set everything to balance the flash with the sunset. Instead of shooting one full body image, I shot four images of Frida.
Just as I did with the first set of images, all parameters stayed the same, at ISO 100, f/2, 1/250 s, flash power at ¼ with a ½ CTO gel over it to match the sunset color.


Back on the iPad, I followed the same procedure: stitching, importing into Lightroom CC, correcting distortion, cropping and adjusting.


And there you have it! How to use the Brenizer method with and without adding flash.

I really hope you found this post interesting, informative but also entertaining. If that is the case, please leave a comment below and share this post with your friends! But most of all, please remember to Stay Safe, Keep Learning and Keep Creating.
DISCLAIMER: Links included in this post might be affiliate links. If you purchase a product or service with the links that I provide I may receive a small commission at no additional charge to you. Thank you for supporting this blog so I can continue to provide you with free content every week!