How I Record My Videos
“How Do You Shoot Your Videos? How Can I Shoot My Videos? How to Shoot Video for Youtube?” These are common questions I’ve seen in online forums or I’ve personally been asked. Keep reading to solve the mystery.
I first shot and edited video about 23 years ago, as part of my first job as a webmaster for my college. Those videos needed to be really short and light, because internet connections were seriously slow, compared to today’s standards.
Over time I kept practicing, taking face to face and online courses and, in my nexto to last job, I served as an online course production manager for a college in Chile. That’s why, when I decided to start my YouTube channel I already had a bit of experience in the process.
Let’s start by breaking down the process in 6 pieces: Script, Location, Lighting, Camera, Sound and Editing.
Script
As a production manager, my motto was “The Script is the Center of the Universe”. Just as it happens in a big budget movie, the script defines everything about the end product. It defines the tone, camera angle, supporting materials, etc.
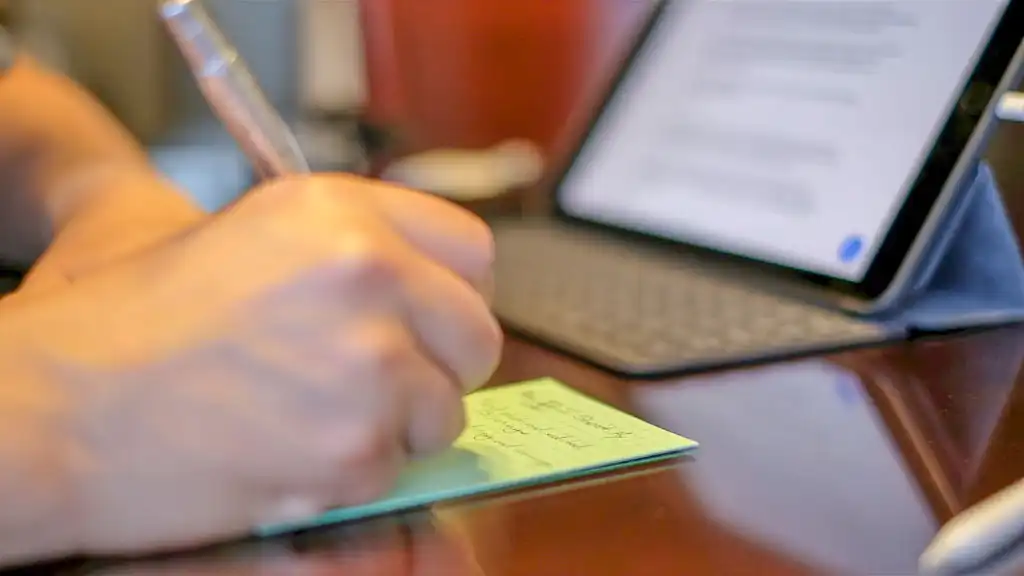
In my case, every video starts with a blog post. I write down everything I want to explain, with an opening, main body and close. Of course, I’m not reading a blog post in front of the camera, so the main ideas translate into a cue card with some points to cover in he video.
Location
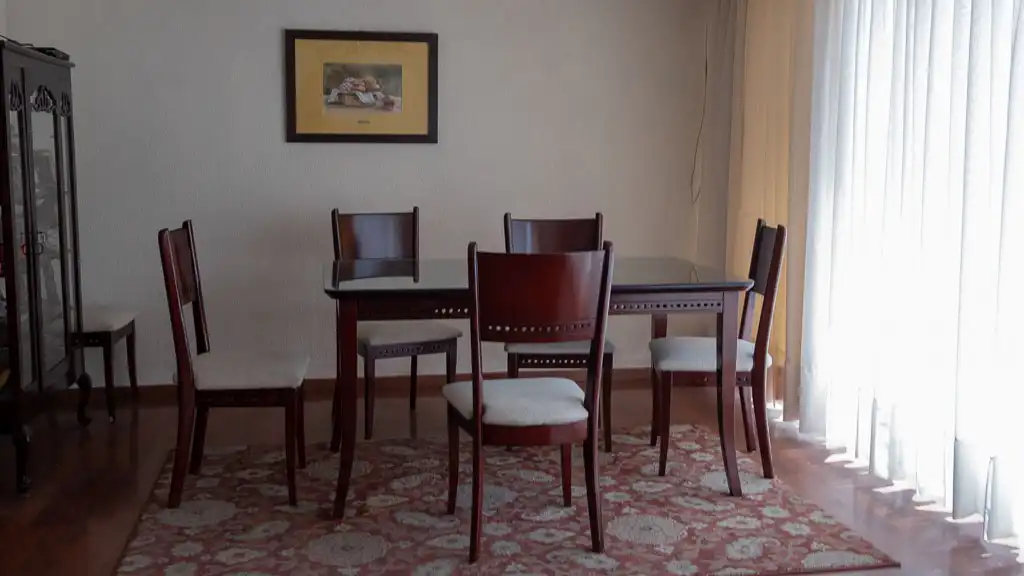
This is currently a no-brainer. I shoot in my dining room! I simply remove all chairs except one. Remove a painting from the wall and make sure the table is clean. That’s it.
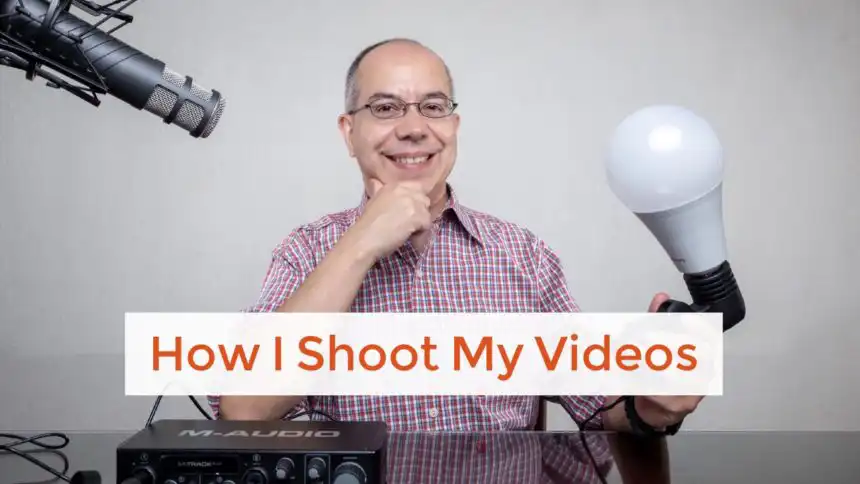
Lighting
I chose the dining room because, along with the living room, it has a really big window which provide a lot of natural light. The window has diffusing curtains, so I don’t need to worry about the quality of light.
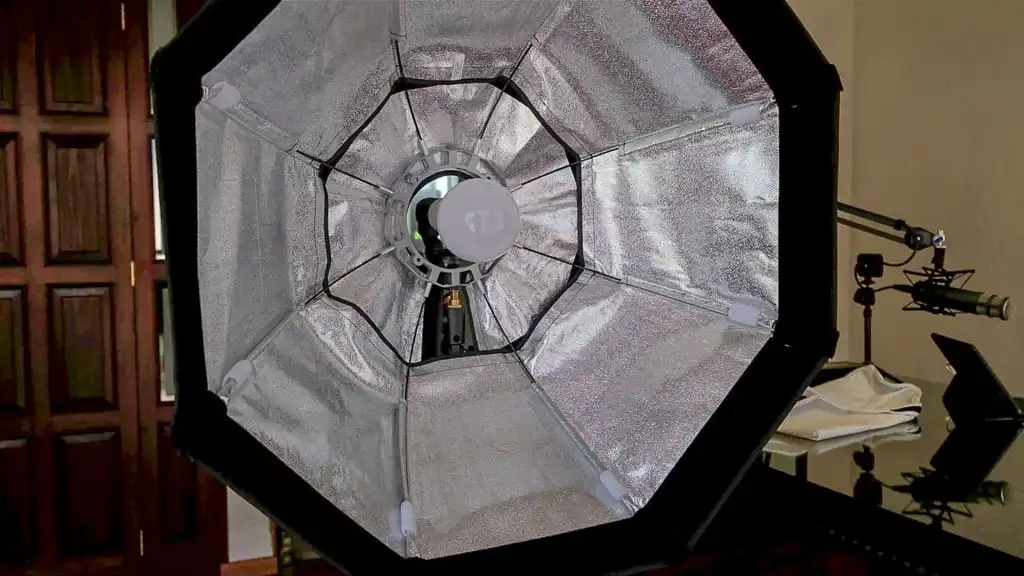
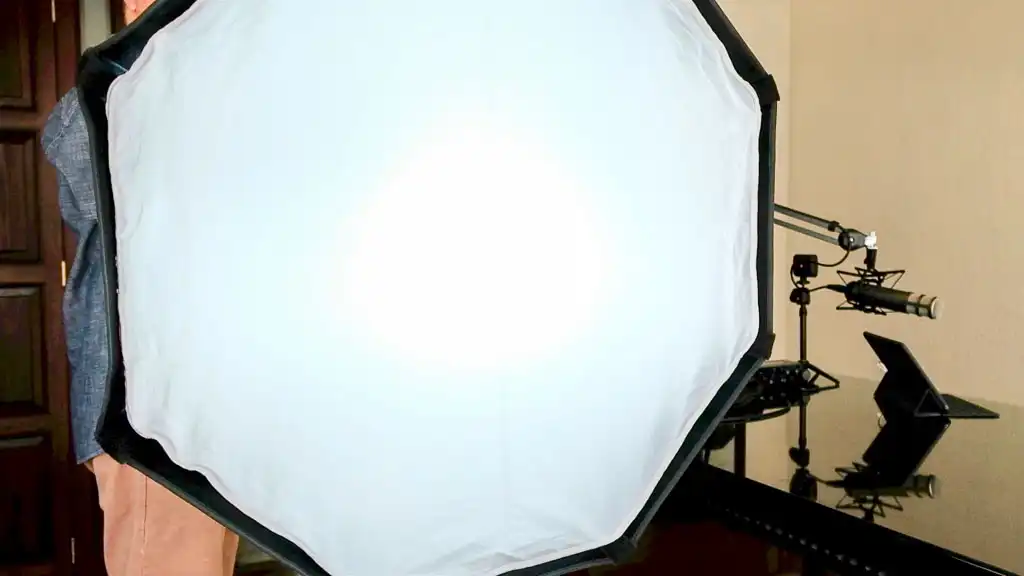
Besides the natural light I add three lights. The main light is a 200W equivalent E27 LED light on a socket light fixture for light stand, which is then inside a small Photoflex Octodome. This is placed slightly right of the camera, following the direction of the natural light.
I lit the background wall with two bare Manfrotto Lumimuse 8 lights (Adorama, Amazon), set at medium power, placed at left and right of the camera, on the table, pointing at the wall.
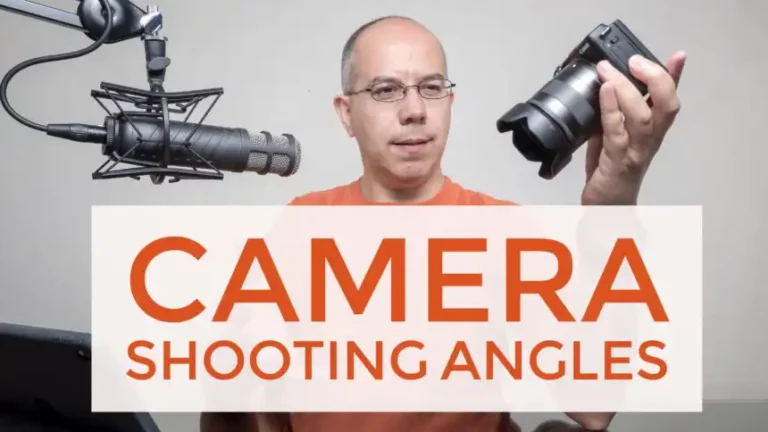
Camera
I currently use a Canon EOS M3 with the EF-M 18-55mm lens as my main camera, which I place right across from me on a tripod. I flip the screen to the “selfie” position, so I can see if I’m on frame or not. The lens is in the 18mm position, and the Octodome will be right on top and to the right of the camera.
I usually record at 24 fps, at Full HD (1920×1080). So far I don’t need to shoot 4K but I may do so in the future, when I upgrade to a more capable camera and computer.
Depending on the topic, I may use a second camera. The second camera is either slightly to the right of the main one or at a 90 degree angle.
Sound
This is where things get tricky. I record the main sound using a RØDE Procaster (Adorama, Amazon) microphone. I chose this microphone because it’s very directional and dynamic. This way I know it won’t pick up every single sound around me. My neighbors can be a bit noisy.
The Procaster is mounted on a RØDE PSM1 anti-shock mount (Adorama, Amazon), on a RØDE PSA1 Studio Boom Arm (Adorama, Amazon). It’s connected to an M-Audio M-Track Plus II audio interface (Adorama, Amazon), which plugs into my iPad Pro using Apple’s Lightning to USB 3 Camera Adapter (Adorama, Amazon). GarageBand is my recording software.
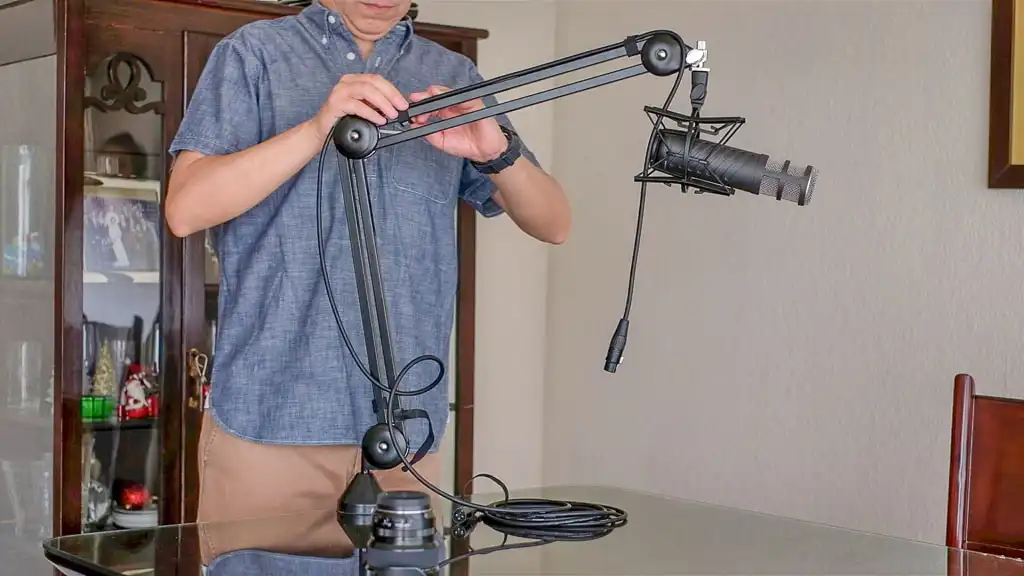
I also use a RØDELink Filmmaker Kit (Adorama, Amazon). I wear the microphone on the shirt neck and the transmitter is on my hip. The receiver is secured to the tripod and connected to the camera. If anything happens to the recording on the iPad, this is the backup audio.
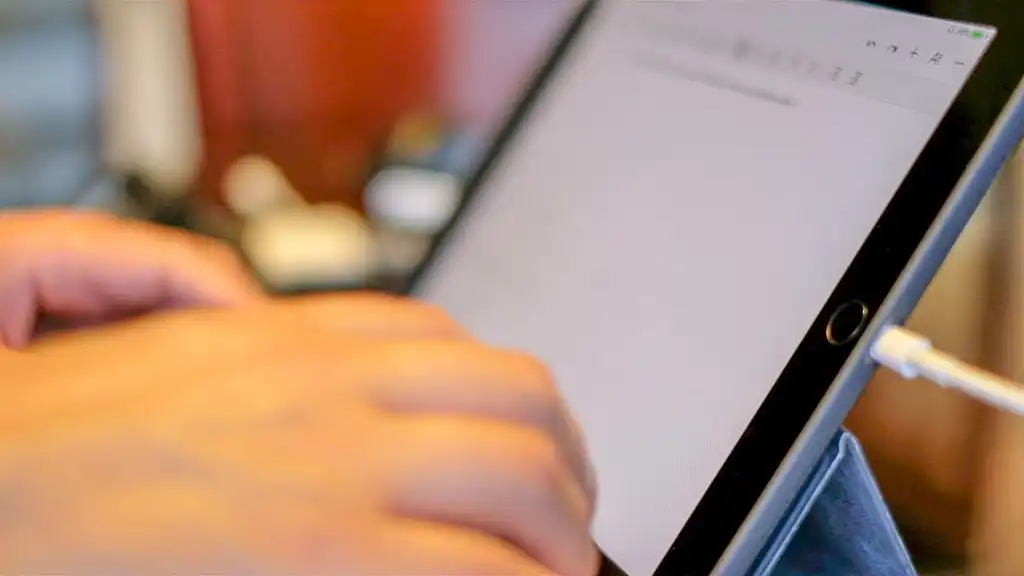
Editing
Everything comes together in the editing. If you’ve followed this blog long enough, you know that I don’t have a computer and I do all my work on a 9.7” iPad Pro. That’s why the first step is getting all the material on the iPad. I recorded the sound on the iPad but I need to transfer the video files. Again, the Lightning to USB 3 Camera Adapter comes in handy. I connect a card reader to it and transfer everything from the cards.
The actual editing starts with the audio in GarageBand. I apply a Noise Gate and make adjustments with the Equalizer; trim the start and end, and export to Dropbox.
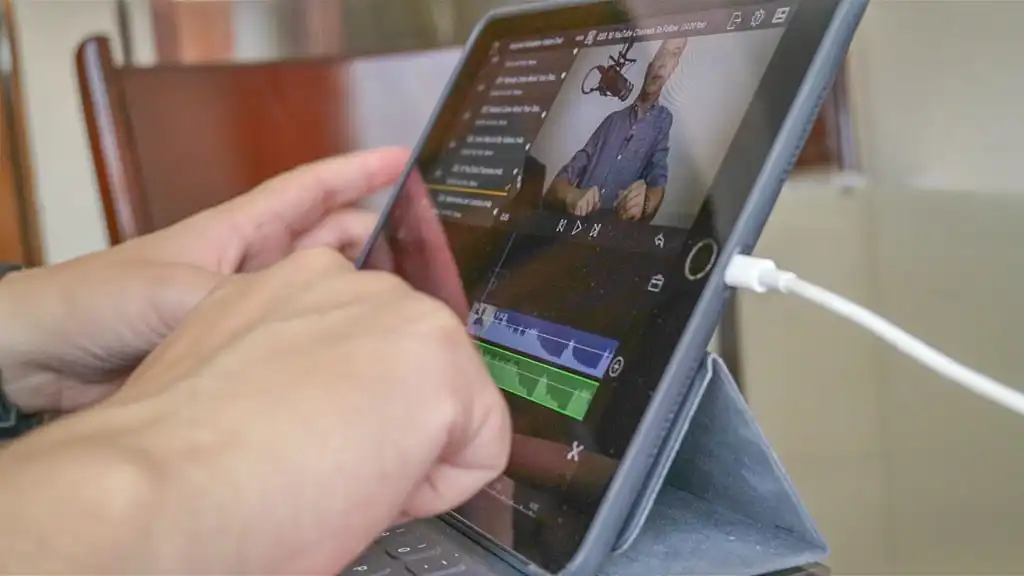
The next step is to import video and audio to LumaFusion, where I edit the video as a whole. This is where I insert titles, transitions, and supporting images, trim bloopers and remove unnecessary blabbing. As a final touch I add the background music.
Export
I export the video file making sure it’s a 1920×1080 px mp4, with AAC audio codec. The final step is to upload it to YouTube. It’s ready!
I hope this gives you a better idea of how to shoot video for YouTube, and guides you in setting up your own process to record your videos.
I really hope you found this post interesting, informative but also entertaining. If that is the case, please leave a comment below and share this post with your friends! But most of all, please remember to Stay Safe, Keep Learning and Keep Creating.
DISCLAIMER: Links included in this post might be affiliate links. If you purchase a product or service with the links that I provide I may receive a small commission at no additional charge to you. Thank you for supporting this blog so I can continue to provide you with free content every week!